Follow these professional steps to secure, download, and initialize your e-Anima ecosystem.
The foundation of your digital clinic begins with a secure administrative identity. To start, register your practice on our official platform. It is highly recommended to use your clinic's primary business email address, as this will serve as your unique global identifier for licensing, encrypted backups, and critical security updates. This account acts as the 'master key' to your Electronic Medical Records (EMR) environment.
Register Your Clinic Account →
e-Anima is engineered to scale alongside your business. During this stage, you will evaluate and select the subscription tier or one-time license that aligns with your patient volume and clinical complexity. Whether you are a solo mobile practitioner or a multi-branch veterinary hospital, our tiers provide modular access to advanced features like integrated laboratory results and surgical tracking.
Browse Subscription Tiers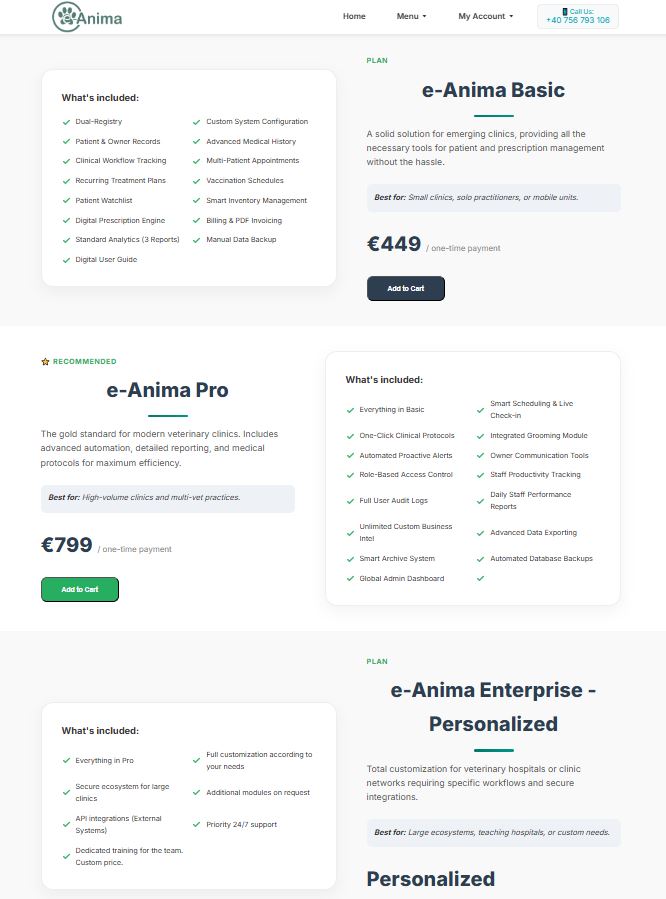
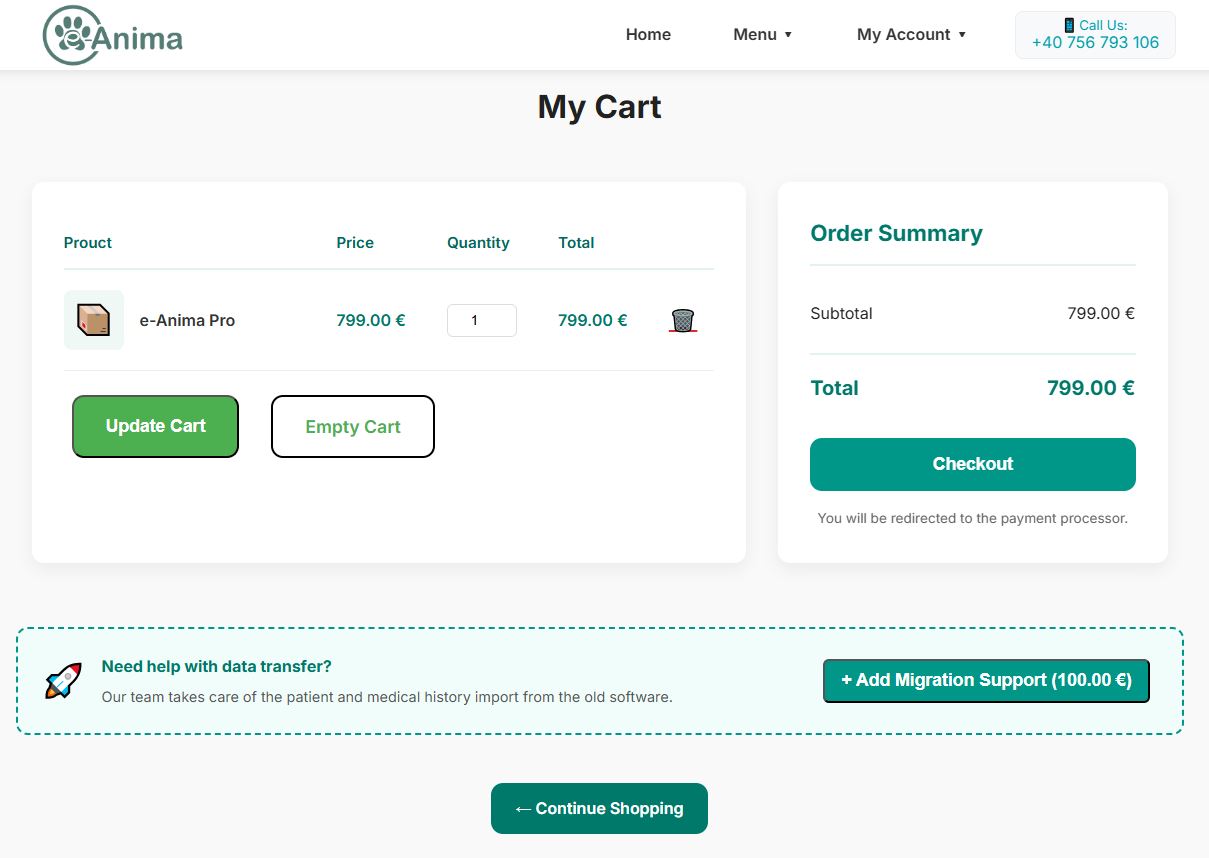
Enhance your software experience by adding essential add-ons such as Migration Support for your existing patient data or Automated Remote Backup plans for ultimate disaster recovery. Once your configuration is finalized, complete the transaction through our industry-standard secure payment gateway. Your digital license will be provisioned immediately upon successful payment.
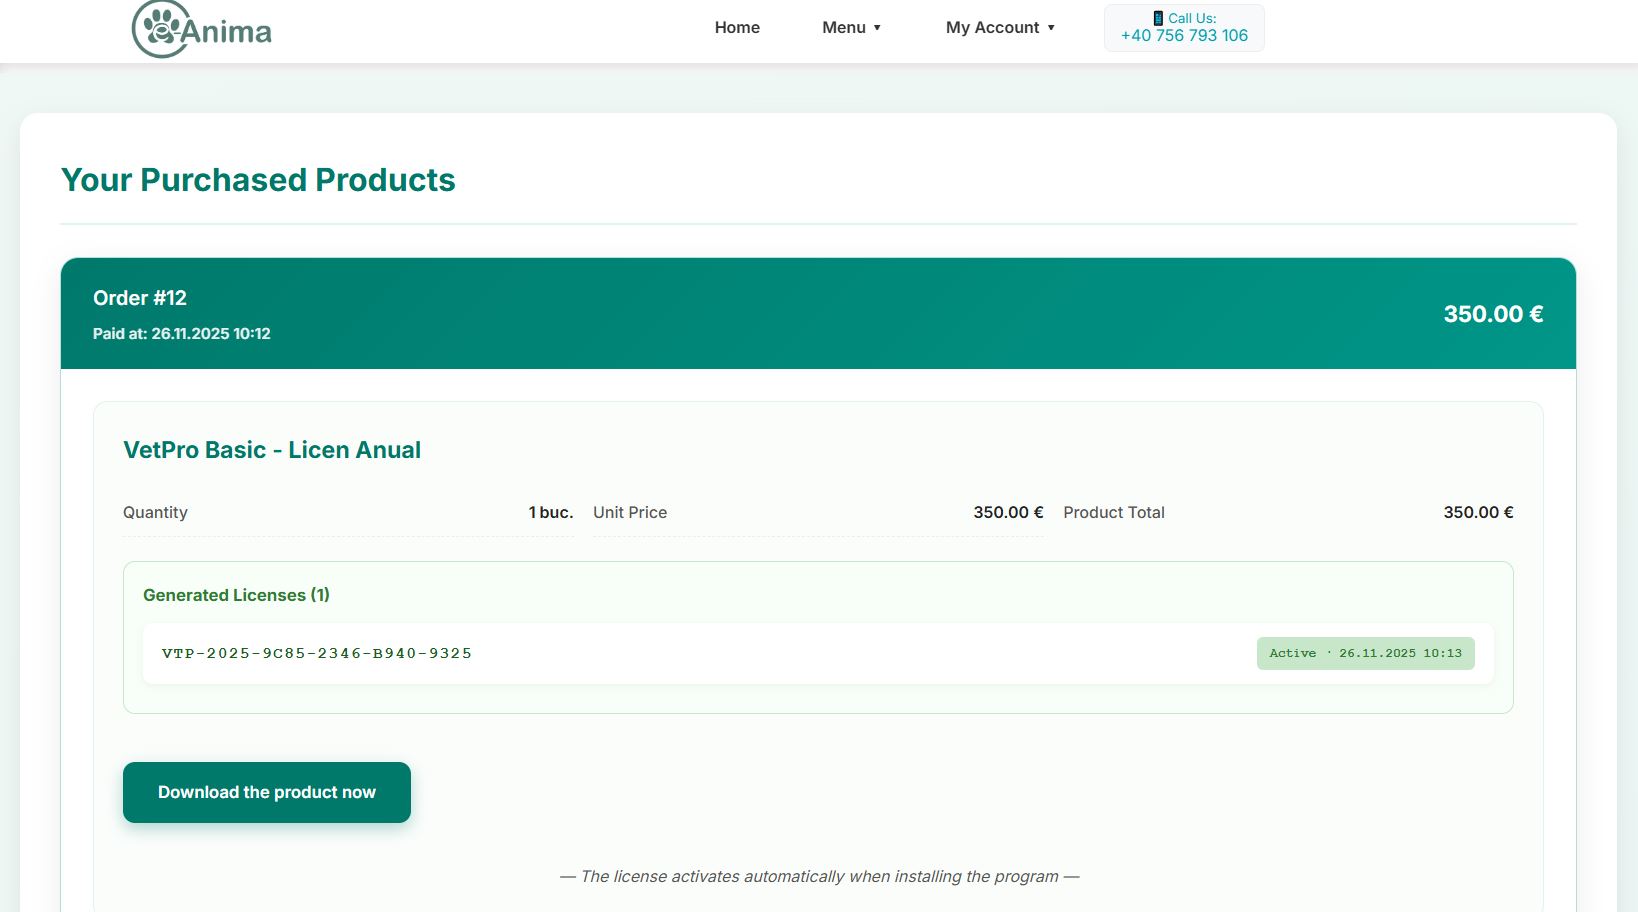
Once your license is active, log in to your dashboard and navigate to the 'Purchased Products' section. Locate your e-Anima license and click the download button. Unlike generic web apps, this dedicated software installer provides native hardware integration, ensuring stable communication with your clinic's thermal printers and imaging devices.
Locate the downloaded .exe file and launch the installation wizard. Follow the on-screen prompts to initialize the local environment. We strongly recommend sticking to the default installation directory; this ensures that the local database cache and encryption protocols function with optimal performance and are easily accessible for future updates.
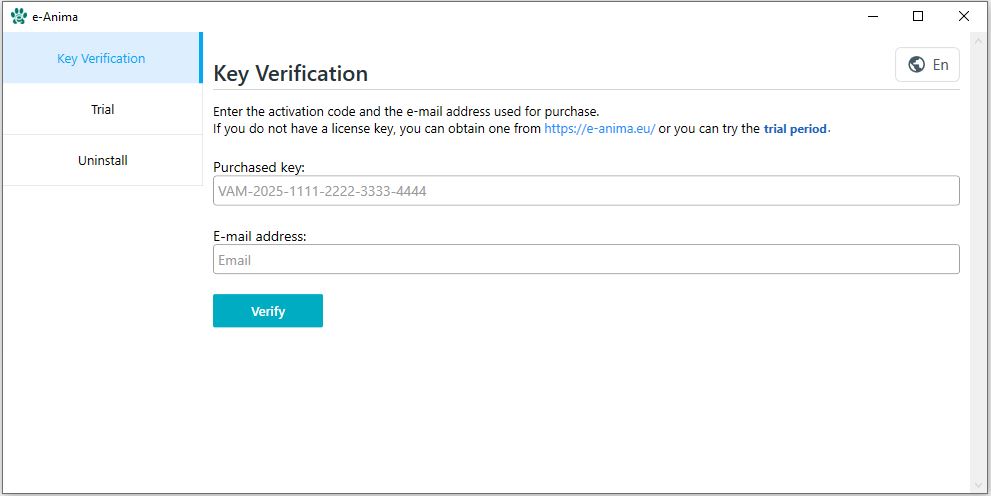
Launch e-Anima from your desktop. An activation window will prompt you for your credentials. Enter the unique License Key—accessible from your online dashboard—along with your registered Account Email. This process establishes a secure end-to-end encrypted tunnel between your local workstation and our cloud infrastructure.